

7 Steps to Safely Ship Delicate Dog Treats
Quick Summary
Safe shipping delicate treats means choosing packaging suited to the texture, sealing treats airtight, and cushioning the box so nothing can shift. Let baked treats cool fully, wrap each piece, fill every void, and ship early in the week to limit heat exposure.
- Breakage, melting and staleness come from shifting boxes, warm transit and air or moisture exposure.
- Wrap each fragile piece individually in parchment, glassine or food-grade tissue.
- Leave at least one inch of cushioning on all six sides of the packed treats.
- Ship early in the week so parcels do not sit in a warm truck or on a weekend porch.
- Run a drop test and a shake test on a sample shipment before trusting your method.
Table of Contents
- Why Delicate Dog Treats Break, Melt or Go Stale in Transit
- Choosing the Best Packaging for Dog Treats
- How to Keep Dog Treats Fresh for Shipping
- Step-by-Step Method for Packing Fragile Treats
- Cushioning, Box Size and Heat Protection
- Shipping Homemade Dog Treats: Regulations to Know
- Booking Your Next Safe Treat Delivery with K9 Kremery
- Frequently Asked Questions
Why Delicate Dog Treats Break, Melt or Go Stale in Transit
Breakage happens when a box shifts and treats knock together. Melting happens when a parcel sits in a warm truck or a sunny porch. Staleness happens when air and moisture reach the treats over several days. The U.S. pet treats market is estimated at USD 11.25 billion in 2026, according to Mordor Intelligence U.S. pet treats market report, so more owners are ordering treats online than ever before.
Most shipping problems start with packaging that was never meant for fragile food. A thin bag tossed into a large box gives the treats room to crush, which is why careful shipping delicate treats begins with the right container.
Choosing the Best Packaging for Dog Treats
The right container depends on the treat's texture, size and how long it will be in transit. Soft baked treats need more protection than dense biscuits. Frozen and freeze-dried treats need barrier packaging to keep moisture out.
Stand-Up Pouches Versus Rigid Boxes
Stand-up pouches are light and cheap to ship. They suit dry, sturdy treats. Rigid boxes protect soft or decorated treats from crushing. Use a pouch for everyday biscuits and a box for birthday cakes and anything iced. Before choosing containers, you can check how to read dog treat ingredient labels to confirm what the treats contain.
- Pouches: lower shipping weight, good for dense treats
- Rigid boxes: best for frosted or soft treats
- Combine them: place a sealed pouch inside a sturdy box
Food-Grade Materials and Resealable Closures
Choose packaging labeled food-grade, and look for a resealable zip closure or a heat seal. An airtight seal keeps out moisture and oxygen, which slow spoilage. Confirm that any material touching the treats is approved for food contact.
How to Keep Dog Treats Fresh for Shipping
Freshness is mostly about sealing. Remove excess air before closing the bag, and add a silica gel packet if the treats are dry and shelf-stable. Keep the treats cool when possible, since heat speeds up spoilage and softens fats.
Store treats in an airtight container until the moment they are packed. Avoid leaving open bags on the counter while you work.
Step-by-Step Method for Packing Fragile Treats
Most guides stop at "wrap it and box it." A packing method that survives transit has to control three forces: movement inside the box, direct impact on the treat, and time in transit. Use this sequence every time; once you have a routine, a small order takes about ten minutes.
- Cool and condition the treats. Let baked treats cool completely, residual warmth creates condensation inside a sealed pouch, which softens icing and promotes mold. For frozen or freeze-dried treats, pack straight from the freezer or a cool, dry space and keep handling time short.
- Wrap each fragile piece individually. Use parchment, glassine, or food-grade tissue. For iced or decorated treats, wrap so the decoration faces up and is not pressed against the wrap. Individually wrapping prevents treats from abrading or knocking together, which is the most common cause of breakage.
- Seal the primary package. Place wrapped treats in a food-grade pouch or rigid container, press out excess air, and close with a heat seal or zip closure. For dry, shelf-stable treats, add a food-grade silica gel packet, not loose desiccant, to manage moisture.
- Build a cushioning cradle. Line the bottom of the shipping box with at least one inch of void fill (crumpled kraft paper, air pillows, or foam). Set the sealed package in the center so it does not touch any wall.
- Fill all voids. Gaps let the package shift and pick up momentum. Fill every side and the top with cushioning until the package cannot move when you press on it. A common pattern is to fill until the box bulges slightly when closed.
- Consider double-boxing for high-value or very fragile orders. Place the cushioned inner box inside a larger outer box with at least one inch of cushioning on all sides. This decouples the treats from direct impact on the outer carton.
- Seal and label. Use pressure-sensitive packing tape on all seams, not masking or cellophane tape. Mark the box "Fragile, Perishable Food" and add orientation arrows if the treats are iced or layered.
- Run a quick shake test. Lift the sealed box and shake it gently. If you hear or feel movement, open it and add cushioning. A box that passes should feel like a single solid unit.
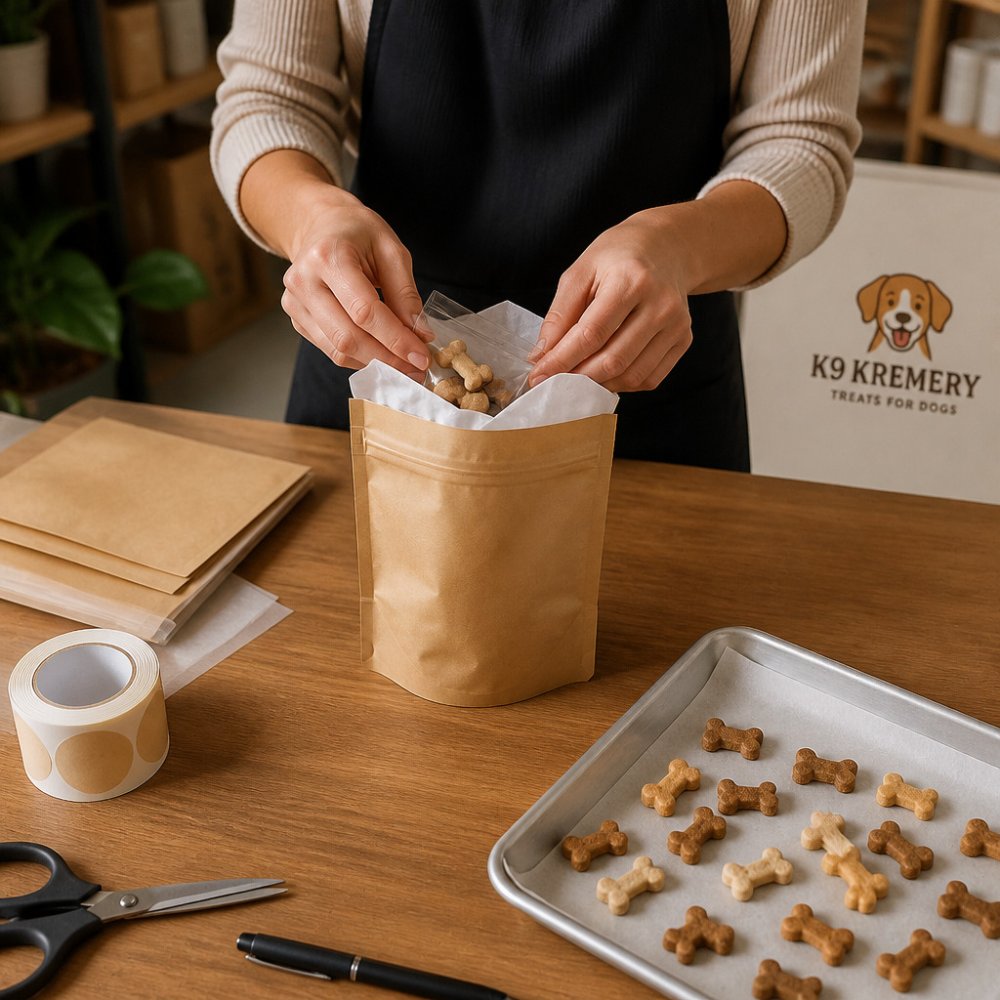
The eight steps below summarise the packing sequence the article describes, with the main action for each step.
| Step | What to do | Key detail |
|---|---|---|
| 1. Cool and condition | Let baked treats cool fully | Residual warmth causes condensation |
| 2. Wrap individually | Wrap each fragile piece | Prevents abrasion and knocking |
| 3. Seal primary package | Press out air and close | Add food-grade silica gel for dry treats |
| 4. Build cradle | Line box bottom with cushioning | At least one inch of void fill |
| 5. Fill voids | Fill every side and top | Box should not move when pressed |
| 6. Double-box | Nest inner box in larger box | Use for high-value or very fragile orders |
| 7. Seal and label | Tape seams and mark fragile | Use pressure-sensitive tape, not masking tape |
| 8. Shake test | Lift and shake gently | Should feel like one solid unit |
Cushioning, Box Size and Heat Protection
Cushioning is not just "some padding." It has to absorb impact, limit movement, and insulate against heat, and the box has to be sized so the cushioning can do its job.
Right-Sizing the Box
A box that is too large lets the package accelerate and hit the walls; a box that is too small compresses the cushioning and transfers impact directly to the treats. A practical rule: measure the sealed primary package, then add at least one inch of cushioning on all six sides. That means the shipping box should be roughly two inches larger than the packaged treats in each dimension. For very fragile or iced treats, add two inches per side and double-box.
Choosing Cushioning by Treat Type
- Dense biscuits and hard treats: crumpled kraft paper or air pillows are enough; the treats resist crushing, so the goal is limiting movement.
- Soft baked and frosted treats: foam wrap or bubble wrap around the primary package, then void fill to center it. Frosted treats should travel decoration-up and be separated with dividers.
- Freeze-dried and fragile shapes: individual wrap plus a rigid container, then a cushioning cradle. Freeze-dried treats are light but brittle and crush easily under point pressure.
- Frozen or temperature-sensitive treats: an insulated liner plus a cold pack, sized so the cold pack does not touch the treats directly. Use a liner rated for the expected transit time.
Heat and Transit-Time Planning
Heat is the quiet killer: it softens fats, melts icing, and accelerates spoilage. Ship early in the week so parcels do not sit in a warehouse or truck over a weekend. Ask your carrier about service levels and expected transit times, and choose the fastest service that fits your budget for temperature-sensitive orders. In warm months, consider hold-for-pickup or scheduled delivery so the box does not sit on a sunny porch.
A Simple Damage-Test Checklist
Before you trust a packing method, run three checks on a sample shipment:
- Drop test: drop the sealed box from waist height onto a hard floor on one corner, one edge, and one face. Open it and inspect the treats. Pass criteria: no broken pieces, no cracked icing, and the primary package still sealed.
- Shake test: shake the box gently. Pass criteria: no movement of the inner package.
- Transit test: ship one sample to yourself or a local address using your planned service level. Pass criteria: treats arrive intact, at the right temperature, and with seals unbroken.
Cost, Weight and Sustainability Trade-offs
More cushioning means more protection but also more weight and cost. Air pillows are light but less protective against punctures; foam is protective but bulkier and often less recyclable; crumpled kraft paper is recyclable and cheap but heavier. A common pattern is to use just enough cushioning to pass the shake and drop tests, then weigh the packed box to confirm shipping cost before you scale a packing method.
Shipping Homemade Dog Treats: Regulations to Know
If you sell homemade dog treats, check the rules before you ship. The U.S. Food and Drug Administration regulates pet food and treats, including labeling and ingredient requirements, and state agencies may add their own rules (the FDA). Freeze-drying alone does not make a raw animal-derived treat pathogen-free, according to EnWave guidance on freeze-dried dog treat safety. Handle raw-ingredient treats with extra care and label them clearly. You can also read whether frozen dog treats are safe to give every day before deciding how often to serve them.
Booking Your Next Safe Treat Delivery with K9 Kremery
If you would rather skip the packing work, you can browse K9 Kremery's dog birthday cake kits and natural treats and see what is available for your dog's next celebration.
Last Updated: October 28, 2026
Frequently Asked Questions
How do you ship homemade dog treats without them breaking?
Pack treats snugly in a rigid box or a sturdy stand-up pouch so they cannot slide around. Wrap delicate pieces individually in parchment or tissue, fill empty space with crinkle paper or fabric-free cushioning, and avoid oversized containers. Seal the box with strong tape and label it clearly as fragile. Shipping the box in a padded mailer adds another layer of protection during carrier handling.
What is the best packaging material for shipping delicate pet snacks?
Food-grade, moisture-resistant materials such as multi-layer foil pouches or coated kraft pouches work well for protecting freshness, while rigid paperboard boxes with insert cushioning protect shape. Look for resealable closures or zip-lock seals so customers can keep leftovers airtight. Choose a material that suits your treat type, since soft baked treats and dehydrated treats need different barriers against crushing and moisture.
How do you keep dog treats fresh during transit?
Use airtight packaging with an oxygen and moisture barrier, and include a food-safe desiccant pack if the treat type allows it. Keep the package sealed until the customer opens it, and avoid mailing during peak summer heat when possible. Ship in insulated materials or choose expedited service so the treats spend less time in transit and storage. Store the packaged treats in a cool, dry place before they ship.
Do I need special labeling for shipping dog treats?
Clear labels help carriers and customers. Include the product name, ingredients, net weight, storage instructions and a best-by or freeze-by date. Mark the box fragile and add any handling notes, such as keep dry or keep from heat. Check with your carrier about any restrictions on food shipments, and review U.S. Food and Drug Administration labeling guidance for pet food if you sell packaged treats commercially.
